Okay. I'll start off with a quick note - I can't draw characters.

I've got better general background in drawing, but I haven't practised anatomy and stuff enough to give direct advice on that.
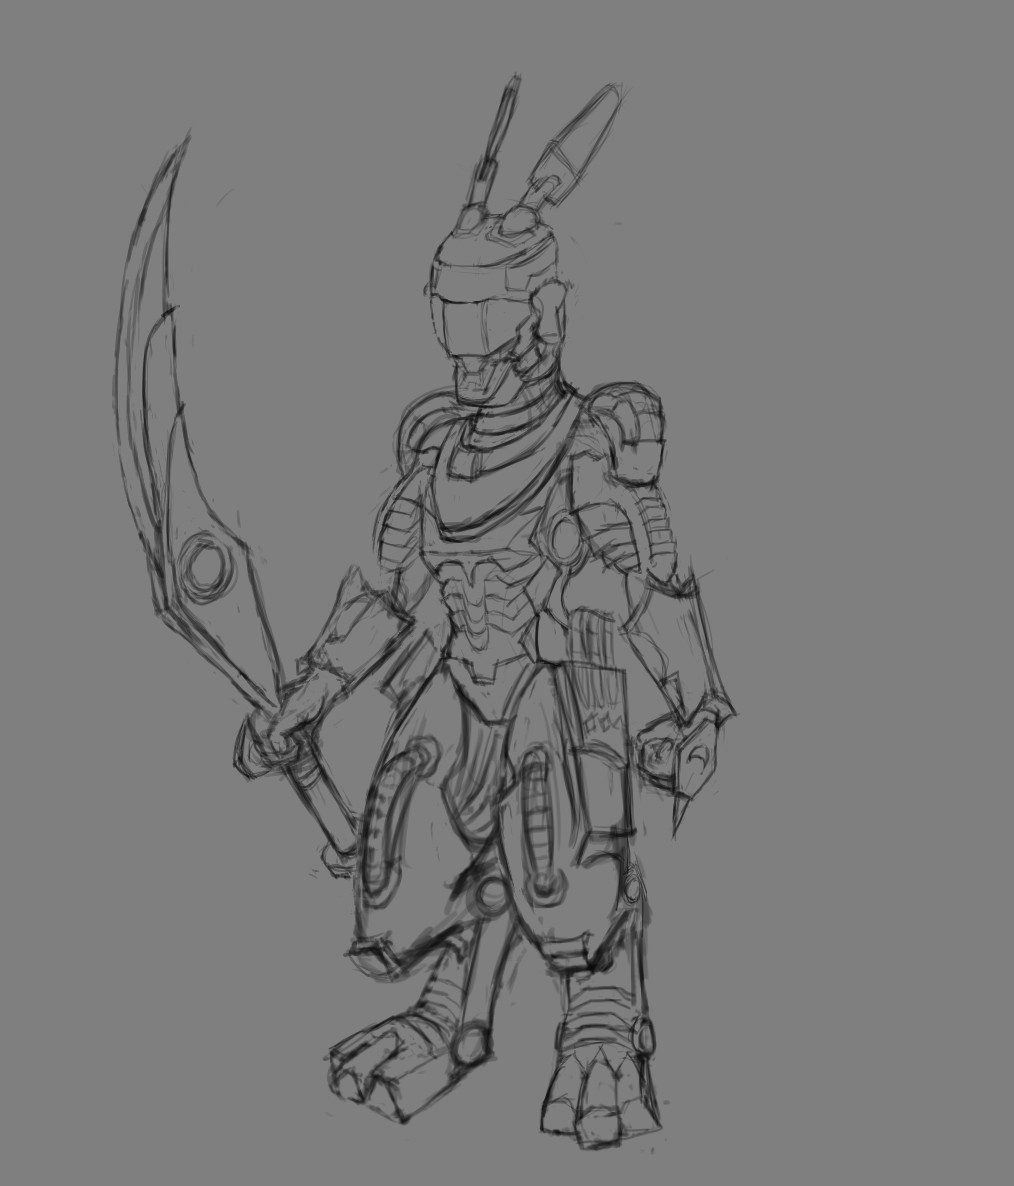
Sehiro, you're doing very, very simple stuff at the moment. It's all silhouettes, looking almost like an Egyptian hieroglyph. You can make it look like a really cool hieroglyph, but it will be very flat. You want to practice
drawing things from different angles. It might be hard, so you have to draw many of them before they start looking OK. So draw simple! Stick figures in interesting poses are enough. You can invent them, or look for reference from movies or photos or comic books. If you want to draw more details on a really well posed stick figure, draw balls into all the joints, then connect the balls. They'll end up looking like cylinders, usually. Don't worry about getting it exactly right, just have fun drawing cool poses.
- [+] StickmanPoses


Daxtart, you could work on the shading. You use a pencil and an even tone, and just make the character an evenly dark gray (your rabbit in this page). It also makes the character look very flat. On the dog vs cat image, it seems like you used something to spread the pencil around a bit, to get a blurry thing in there. In both cases, you are just adding some gray into the image without thinking about light direction. Just having a dark side and a light side would help a lot. Here's a quick edit.
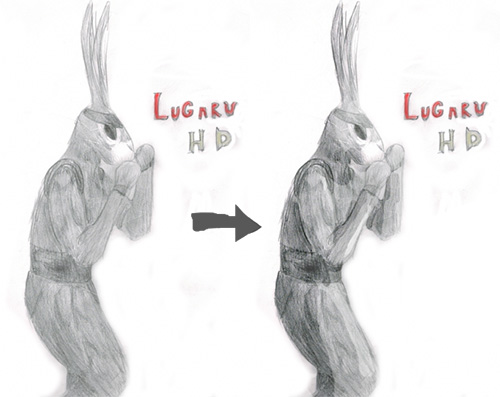
- simple shading.jpg (54.94 KiB) Viewed 10727 times
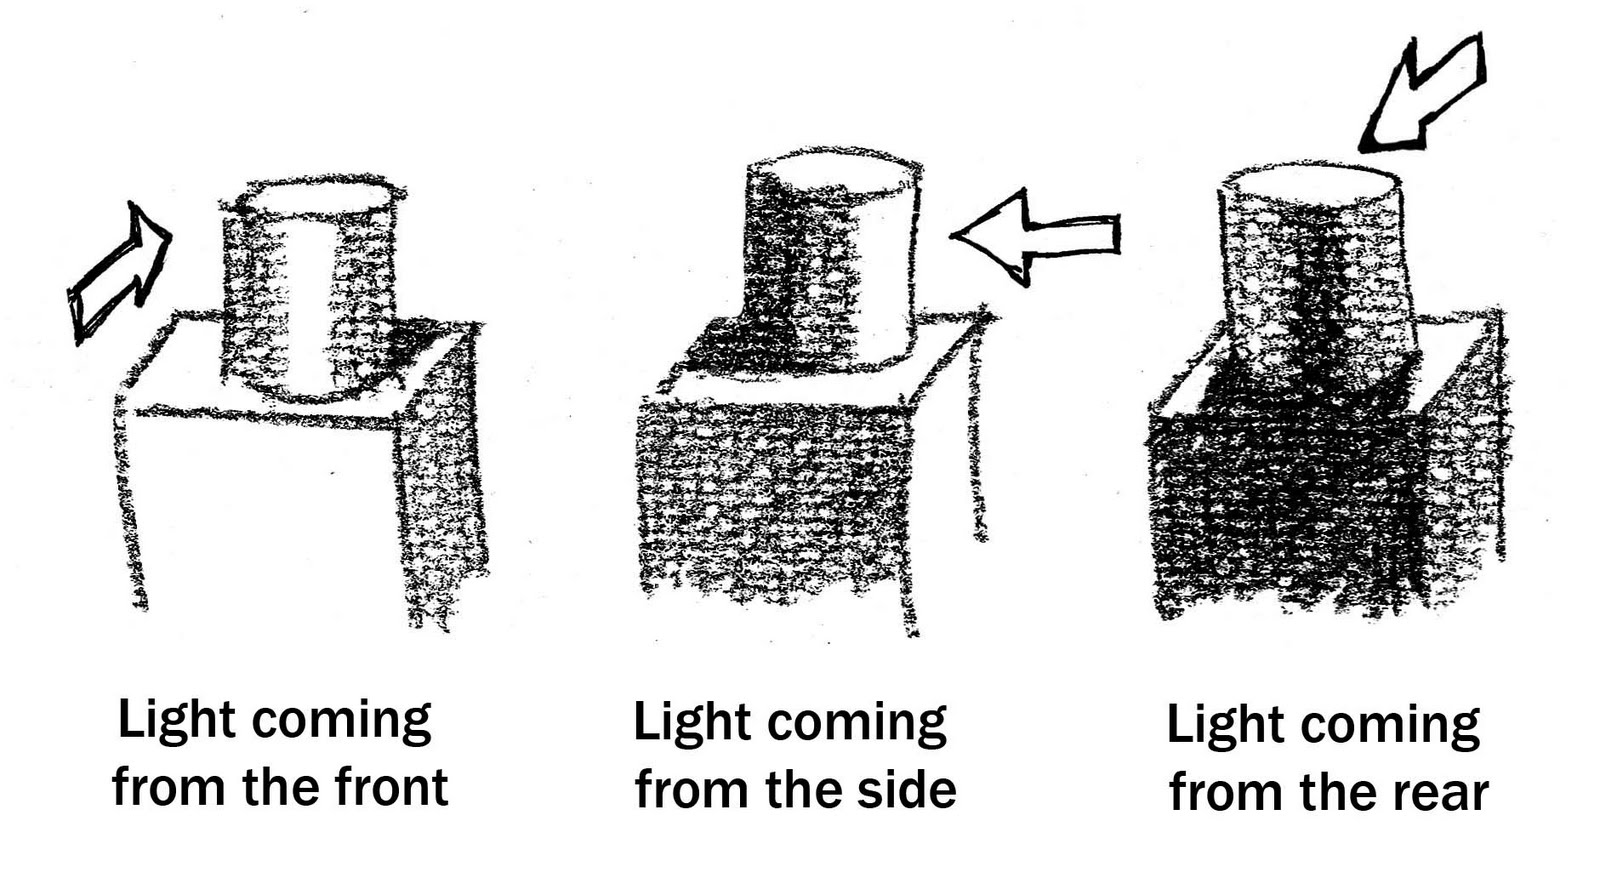
You should decide
what direction light is coming from. Every surface that directly faces the light, you can shade first, with a very light gray value. Then all other areas should be darker than that. Next put in the darkest parts, all the surfaces facing away from the light direction. Once those two are in, you know that everything that you haven't shaded yet should have a grayscale value between those light and dark areas. If you want to finger rub it, those three areas should still be visible, even though they mix together, but it should still be clear
which is the light, the dark and the mid-value area.
- [+] Shading

You can start out with just a few shades. All the bright areas can be one value, all the darks another, and all the mid-areas a third. It's a good excercise, and works well for many things. To draw something very dark, use a gray (instead of white) value even for the lightest area. To draw something very light, use a gray value even for the darkest area. The midtones should be adjusted to be in between the lightest and darkest values, of course.
- [+] Values


Since there aren't enough names for "white", "still kinda white" "very very light gray", "kinda dark grey that's not black yet", "black" and so on, you can name them after numbers: 1 is white, 10 is as black as your pencil can go. It doesn't matter if you're using them accurately - giving a name to a color makes it easier for you to think about it and to recognize it, and that's enough.